Cat Won't Use an Automatic Litter Box? Use This Recovery Plan

About the Author
Quick answer: Restore a clean familiar litter box first, turn off automatic movement or use the model's approved manual mode, and check health, entry, usable space, litter, location, cleanliness and social access. Reintroduce the new box as a static litter resource. Add sound and movement only after the cat uses it calmly. Do not force the cat inside or remove every alternative. This is a recovery guide for a transition that has already gone wrong. If you are setting up a new box and the cat has not shown avoidance, use the separate proactive automatic litter box transition guide. Sudden litter-box avoidance can reflect urinary, digestive, pain or mobility problems. Contact a veterinarian, especially when the cat strains, produces little or no urine, cries, has blood, vomits, has diarrhea or constipation, stops eating or changes elimination frequency. What the cat does Likely variable to test first Recovery action Will not approach the unit Sound, movement, location or unfamiliar shape Power it off and restore distance and choice Enters but leaves without eliminating Interior size, litter, cleanliness or posture Audit usable space and accepted litter Used it until the first cycle Movement or cycle sound Return to static use and reintroduce one manual cycle later Eliminates beside the new box Entry, urgency, litter or box aversion Add a clean low-entry backup and seek veterinary review One cat uses it and another refuses Individual fit or social access Provide separate resources and observe each cat Stopped after a litter change Texture, scent or clump behavior Restore familiar compatible litter Step 1: Stop the failed transition from getting worse Do not wait for repeated accidents. Keep the cat's accepted elimination option available. A clean familiar box protects normal behavior while you identify the problem. Immediately: restore the previous box or another roomy accessible manual box; keep it clean; power off the automatic unit or use the approved manual mode; clean accidents without punishment; record what changed before avoidance began; contact the veterinarian for a sudden or repeated change. Removing every alternative may force the cat to hold urine or stool, choose the floor or develop a stronger negative association with the new unit. Step 2: Reconstruct the failure point The most useful question is "What happened immediately before the cat stopped using it?" Common turning points include: the first automatic cycle occurred while the cat was nearby; the litter brand, texture or scent changed; the new box replaced the old box overnight; the unit moved to a louder or less accessible location; a cover, step or interior surface changed the posture; the waste area became full or the litter bed retained residue; another pet began watching the entrance; the cat experienced pain during elimination. Create a short timeline. Separate what you observed from what you assume. "The cat ran after a cycle" is evidence. "The cat hates all machines" is a conclusion that may not be true. Return to the last stage the cat accepted instead of repeatedly placing the cat inside. Step 3: Verify health before behavior training A cat can associate the box with pain even when the box did not cause the pain. Urinary inflammation, constipation, diarrhea, joint pain and other conditions can make entry or elimination uncomfortable. The association may continue after the medical problem improves. Share with the veterinarian: urine and stool frequency; straining or repeated trips; accident location and surface; appetite, water intake and activity; mobility or grooming changes; the exact date the box and litter changed; video of posture when safe. Do not use treats, confinement or forced placement to overcome a possible pain response. Step 4: Audit physical fit Automatic boxes can look large on the outside while the mechanism reduces the usable interior. Check the space where the cat actually stands. Confirm: entry width and height; first-step height and traction; litter-bed dimensions; turning space; overhead and tail clearance; stability under the cat's weight; a direct exit that another pet cannot block. Watch for edge balancing, backing out, a tail pressed against the wall, half-in posture or hesitation at the first step. A senior or mobility-limited cat may need a lower-entry alternative even if the cat used the new box once. Step 5: Restore familiar litter where compatible A new box is already a major change. Changing litter at the same time removes another familiar cue. Use the previous accepted litter only when it meets the current model's compatibility rules. If it does not, create a gradual litter test in a manual box before asking the cat to accept the machine. The cat needs to accept the new substrate separately from the sound and movement. Check: clumping requirement; particle size; excluded pellets or crystals; fill level; scent; dust and tracking; whether clumps remain firm during the model's delay. Do not add fragrance to attract the cat. Strong scent can have the opposite effect. Step 6: Reset the new box as a static resource With the unit powered off or in the model's approved manual mode: Place it near the accepted location when practical. Fill it with compatible familiar litter. Keep the old box clean and available. Let the cat approach, sniff and leave. Do not place the cat inside. Keep dogs and other cats from crowding the entrance. Wait for calm voluntary use before introducing movement. The goal is not curiosity. The goal is relaxed elimination followed by a normal exit and normal return to the room. Step 7: Reintroduce sound and movement separately After the cat uses the static box consistently, run one manual cycle while the cat is safely away. Let the room return to normal before the cat comes back. On later trials, the cat may hear the cycle from a greater distance. Do not lure the cat toward a moving unit. Watch whether the cat returns to the room, approaches normally and continues using the box. If avoidance returns: disable movement again; restore the last successful step; check whether the cycle was unusually loud or interrupted; verify stable placement and normal operation; use the AutoScooper troubleshooting guide if the machine behaved abnormally. Progress is defined by relaxed use, not by completing a calendar. Step 8: Fix location and social access A new unit may have been moved to an outlet rather than to a location the cat accepts. A technically convenient spot can be behaviorally poor. Choose a location that is: quiet but not isolated; accessible at all times; away from food and water; not beside a washer, furnace or slamming door; not in a narrow dead end; large enough for the cat and owner to approach; on a flat stable surface. In a multi-cat home, provide litter resources in separate areas. One cat using the new box does not prove that another cat can access it without pressure. Step 9: Check cleanliness and cycle results Some cats refuse an automatic box because it is not actually clean. Inspect after a cycle: Was all stool removed? Did a urine clump break and remain? Is the litter bed damp or smeared? Is the waste container full? Does odor remain in the chamber? Is the litter between the fill lines? Correct the mechanical or litter problem before asking the cat to return. Automation should improve cleanliness, not hide residue. Step 10: Know when to stop the experiment Not every cat will accept every box. Stop escalating the transition when the cat repeatedly avoids the room, house-soils, shows prolonged stress or cannot physically use the entry and interior. The correct outcome may be: a different automatic design; a manual low-entry box; multiple box styles; a different location; continued manual mode; a veterinary behavior plan. The purpose of automation is to improve care. It should not come at the cost of reliable elimination. A recovery plan should reduce pressure, preserve choice and use the exact model instructions. PetPivot-specific recovery notes The current PetPivot AutoScooper user guide for AutoScooper 12 recommends manual mode for timid cats until they are comfortable. It also documents a minimum of 3 lb and 6 months for automatic operation and gives model-specific litter rules. Review the exact model before changing settings. AutoScooper 11 product details and AutoScooper 12 Lite product details are separate references. AutoScooper 11 AutoScooper 12 Lite Official PetPivot product images. Confirm the current product page and model guide before publication. A compact recovery checklist Clean familiar backup box restored Veterinary concerns addressed Automatic movement disabled Usable interior and entry checked Compatible familiar litter used Quiet accessible location confirmed Other pets cannot block the entrance Litter bed clean after each test One manual cycle introduced at a distance Progress based on relaxed repeated use For support questions, use the PetPivot FAQ and the current user guide. Frequently Asked Questions Why does my cat sniff the AutoScooper but refuse to step inside? Sniffing shows awareness, not acceptance. The entry, step, litter feel, interior space, location or a previous noise may still make entering difficult. Check that the cat can climb the step and turn without crouching against the sides. Use familiar compatible litter at a familiar depth. Keep the unit stationary and quiet during early investigation. Move food, noisy appliances and routes used by other pets away from the entrance. Why did my cat use it until the first cleaning cycle? The movement or sound may have become associated with the litter location. Reset the process instead of repeating the cycle. Disable movement and restore a clean familiar backup box. Wait for relaxed voluntary use of the stationary AutoScooper again. Run one approved manual cycle only while the cat is safely away. If avoidance returns, step back and review sound, litter, placement and mechanical operation. Should I take the old box away so my cat has no choice? No. Removing the accepted resource can turn hesitation into house soiling and does not prove the new box is comfortable. Keep a clean backup until use is calm and reliable. What if one cat uses the automatic box and another refuses? Treat each cat as a separate user. Preserve enough clean locations, check the refusing cat's mobility and social access, and do not let one cat's acceptance justify removing another cat's safe option. When should I stop trying to make the automatic box work? Pause when the cat repeatedly eliminates elsewhere, avoids the room, cannot fit or climb comfortably, or remains distressed after a slow reset. A different litter box is a successful welfare decision when it is the option the cat can use reliably. Sources PetPivot AutoScooper User Guide - Current AutoScooper 12 setup, litter, transition, maintenance, indicators and operating limits. PetPivot AutoScooper 11 product page - Official product page and original product image. PetPivot AutoScooper 12 Lite product page - Official product page and original product image. Cornell Feline Health Center: Feline Behavior Problems - House Soiling - Medical, litter-box, location, substrate, cleaning and behavior evidence boundary. VCA Animal Hospitals: Cat Behavior Problems - House Soiling - Veterinary and behavior review of urine and stool outside the box. FelineVMA: 2014 AAFP/ISFM House-Soiling Guidelines - Clinical framework for optimizing litter-box setup and feline environmental needs. Litter box preference in domestic cats: covered versus uncovered - Small controlled study reporting no overall group preference and meaningful individual variation.
Quick answer: Restore a clean familiar litter box first, turn off automatic movement or use the model's approved manual mode, and check health, entry, usable space, litter, location, cleanliness and social access. Reintroduce the new box as a static litter resource. Add sound and movement only after the cat uses it calmly. Do not force the cat inside or remove every alternative.
This is a recovery guide for a transition that has already gone wrong. If you are setting up a new box and the cat has not shown avoidance, use the separate proactive automatic litter box transition guide.
Sudden litter-box avoidance can reflect urinary, digestive, pain or mobility problems. Contact a veterinarian, especially when the cat strains, produces little or no urine, cries, has blood, vomits, has diarrhea or constipation, stops eating or changes elimination frequency.
|
What the cat does |
Likely variable to test first |
Recovery action |
|
Will not approach the unit |
Sound, movement, location or unfamiliar shape |
Power it off and restore distance and choice |
|
Enters but leaves without eliminating |
Interior size, litter, cleanliness or posture |
Audit usable space and accepted litter |
|
Used it until the first cycle |
Movement or cycle sound |
Return to static use and reintroduce one manual cycle later |
|
Eliminates beside the new box |
Entry, urgency, litter or box aversion |
Add a clean low-entry backup and seek veterinary review |
|
One cat uses it and another refuses |
Individual fit or social access |
Provide separate resources and observe each cat |
|
Stopped after a litter change |
Texture, scent or clump behavior |
Restore familiar compatible litter |
Step 1: Stop the failed transition from getting worse
Do not wait for repeated accidents. Keep the cat's accepted elimination option available. A clean familiar box protects normal behavior while you identify the problem.
Immediately:
- restore the previous box or another roomy accessible manual box;
- keep it clean;
- power off the automatic unit or use the approved manual mode;
- clean accidents without punishment;
- record what changed before avoidance began;
- contact the veterinarian for a sudden or repeated change.
Removing every alternative may force the cat to hold urine or stool, choose the floor or develop a stronger negative association with the new unit.
Step 2: Reconstruct the failure point
The most useful question is "What happened immediately before the cat stopped using it?"
Common turning points include:
- the first automatic cycle occurred while the cat was nearby;
- the litter brand, texture or scent changed;
- the new box replaced the old box overnight;
- the unit moved to a louder or less accessible location;
- a cover, step or interior surface changed the posture;
- the waste area became full or the litter bed retained residue;
- another pet began watching the entrance;
- the cat experienced pain during elimination.
Create a short timeline. Separate what you observed from what you assume. "The cat ran after a cycle" is evidence. "The cat hates all machines" is a conclusion that may not be true.

Return to the last stage the cat accepted instead of repeatedly placing the cat inside.
Step 3: Verify health before behavior training
A cat can associate the box with pain even when the box did not cause the pain. Urinary inflammation, constipation, diarrhea, joint pain and other conditions can make entry or elimination uncomfortable. The association may continue after the medical problem improves.
Share with the veterinarian:
- urine and stool frequency;
- straining or repeated trips;
- accident location and surface;
- appetite, water intake and activity;
- mobility or grooming changes;
- the exact date the box and litter changed;
- video of posture when safe.
Do not use treats, confinement or forced placement to overcome a possible pain response.
Step 4: Audit physical fit
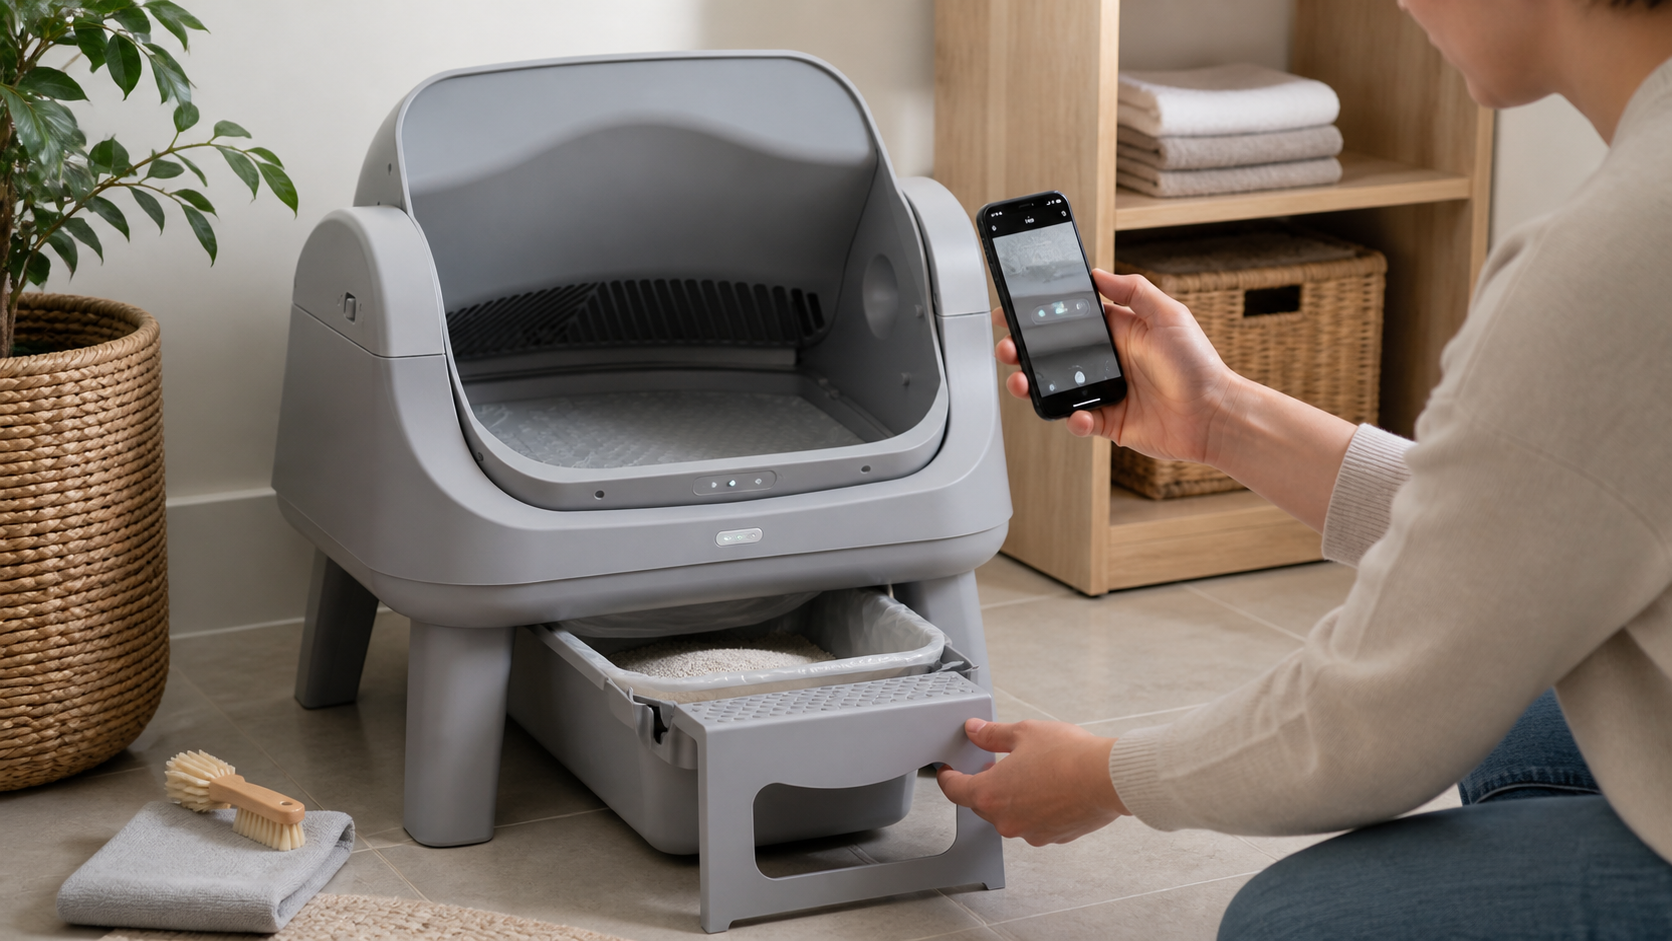
Automatic boxes can look large on the outside while the mechanism reduces the usable interior. Check the space where the cat actually stands.
Confirm:
- entry width and height;
- first-step height and traction;
- litter-bed dimensions;
- turning space;
- overhead and tail clearance;
- stability under the cat's weight;
- a direct exit that another pet cannot block.
Watch for edge balancing, backing out, a tail pressed against the wall, half-in posture or hesitation at the first step. A senior or mobility-limited cat may need a lower-entry alternative even if the cat used the new box once.
Step 5: Restore familiar litter where compatible
A new box is already a major change. Changing litter at the same time removes another familiar cue. Use the previous accepted litter only when it meets the current model's compatibility rules.
If it does not, create a gradual litter test in a manual box before asking the cat to accept the machine. The cat needs to accept the new substrate separately from the sound and movement.
Check:
- clumping requirement;
- particle size;
- excluded pellets or crystals;
- fill level;
- scent;
- dust and tracking;
- whether clumps remain firm during the model's delay.
Do not add fragrance to attract the cat. Strong scent can have the opposite effect.
Step 6: Reset the new box as a static resource
With the unit powered off or in the model's approved manual mode:
- Place it near the accepted location when practical.
- Fill it with compatible familiar litter.
- Keep the old box clean and available.
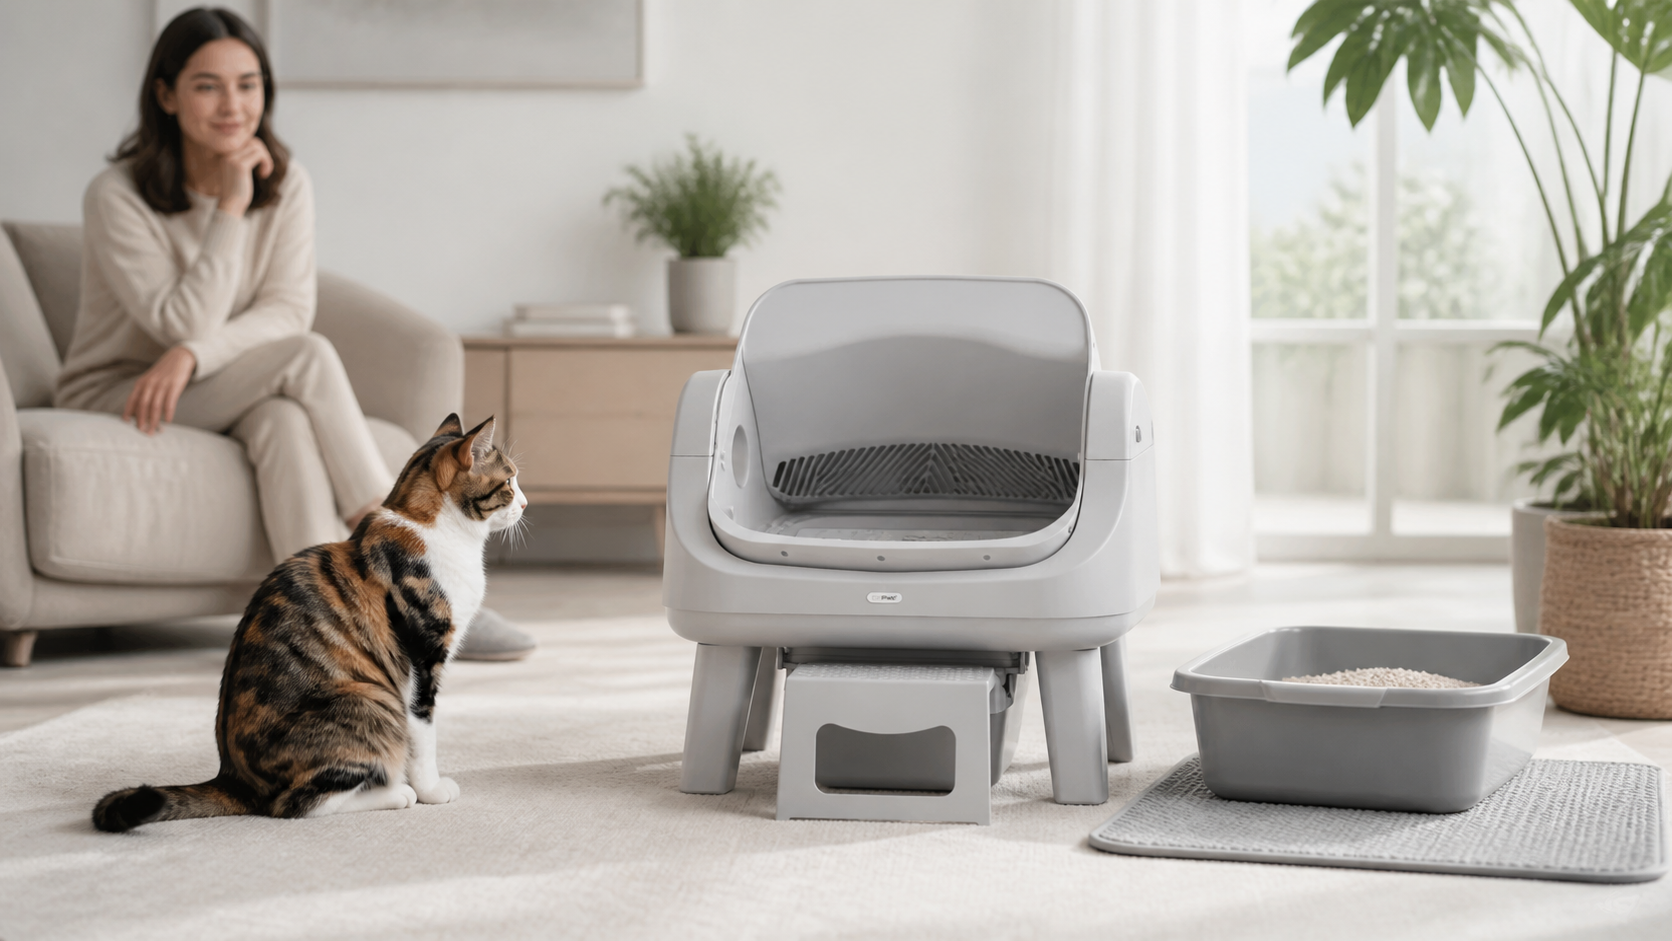
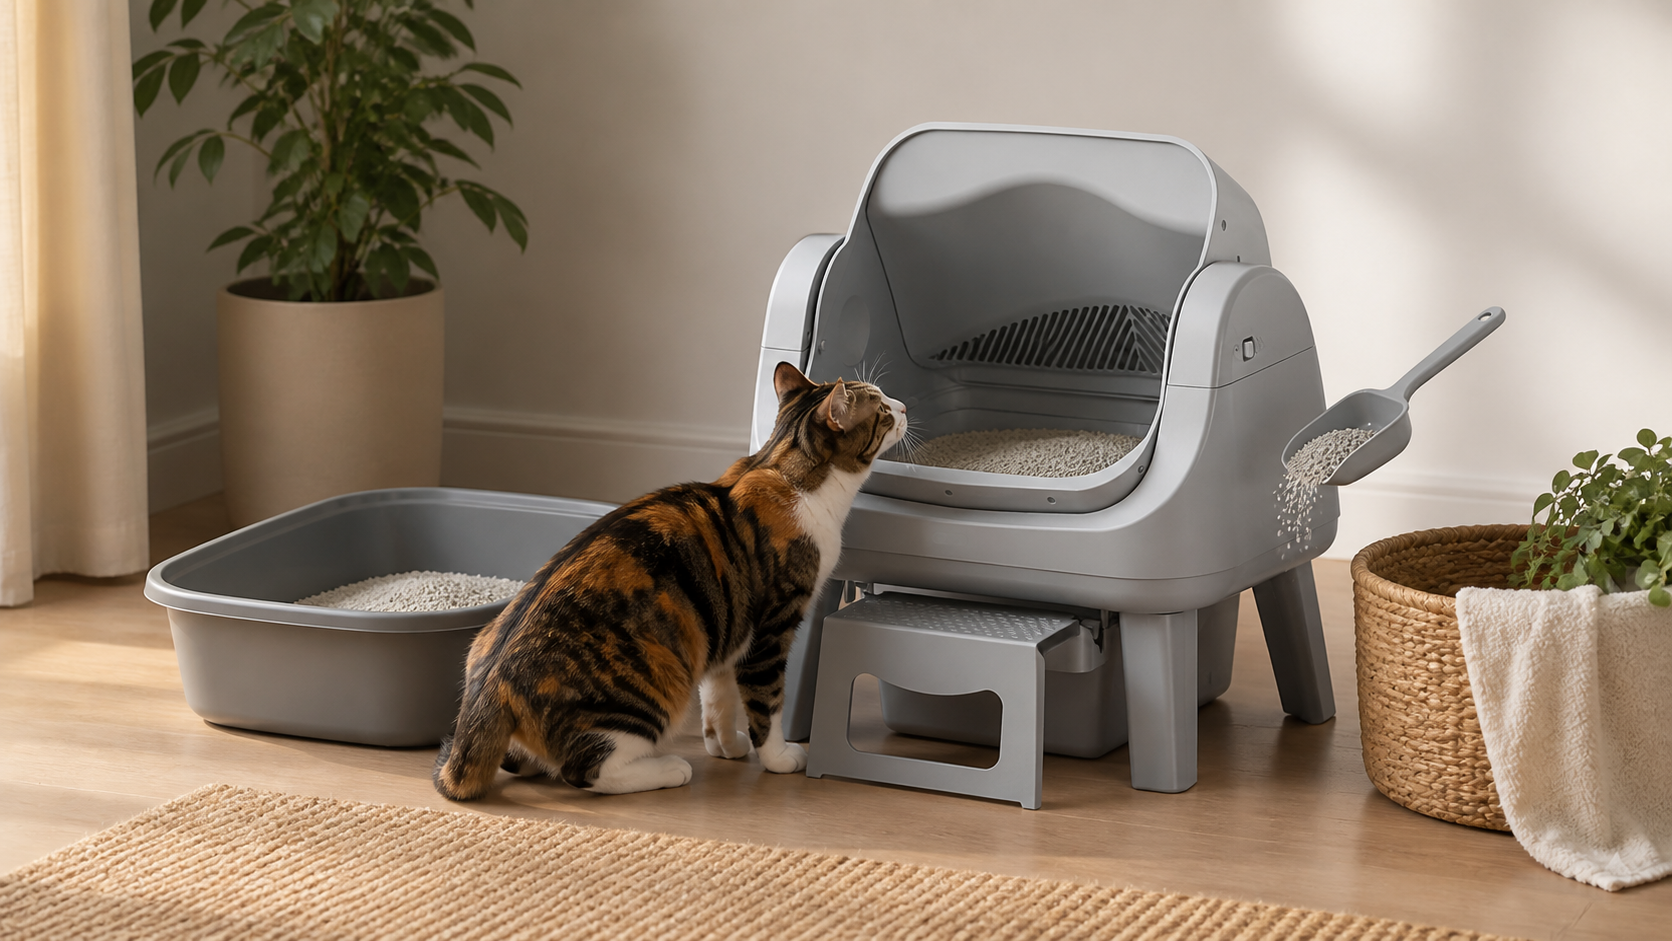
- Let the cat approach, sniff and leave.
- Do not place the cat inside.
- Keep dogs and other cats from crowding the entrance.
- Wait for calm voluntary use before introducing movement.
The goal is not curiosity. The goal is relaxed elimination followed by a normal exit and normal return to the room.
Step 7: Reintroduce sound and movement separately
After the cat uses the static box consistently, run one manual cycle while the cat is safely away. Let the room return to normal before the cat comes back.
On later trials, the cat may hear the cycle from a greater distance. Do not lure the cat toward a moving unit. Watch whether the cat returns to the room, approaches normally and continues using the box.
If avoidance returns:
- disable movement again;
- restore the last successful step;
- check whether the cycle was unusually loud or interrupted;
- verify stable placement and normal operation;
- use the AutoScooper troubleshooting guide if the machine behaved abnormally.
Progress is defined by relaxed use, not by completing a calendar.
Step 8: Fix location and social access
A new unit may have been moved to an outlet rather than to a location the cat accepts. A technically convenient spot can be behaviorally poor.
Choose a location that is:
- quiet but not isolated;
- accessible at all times;
- away from food and water;
- not beside a washer, furnace or slamming door;
- not in a narrow dead end;
- large enough for the cat and owner to approach;
- on a flat stable surface.
In a multi-cat home, provide litter resources in separate areas. One cat using the new box does not prove that another cat can access it without pressure.
Step 9: Check cleanliness and cycle results
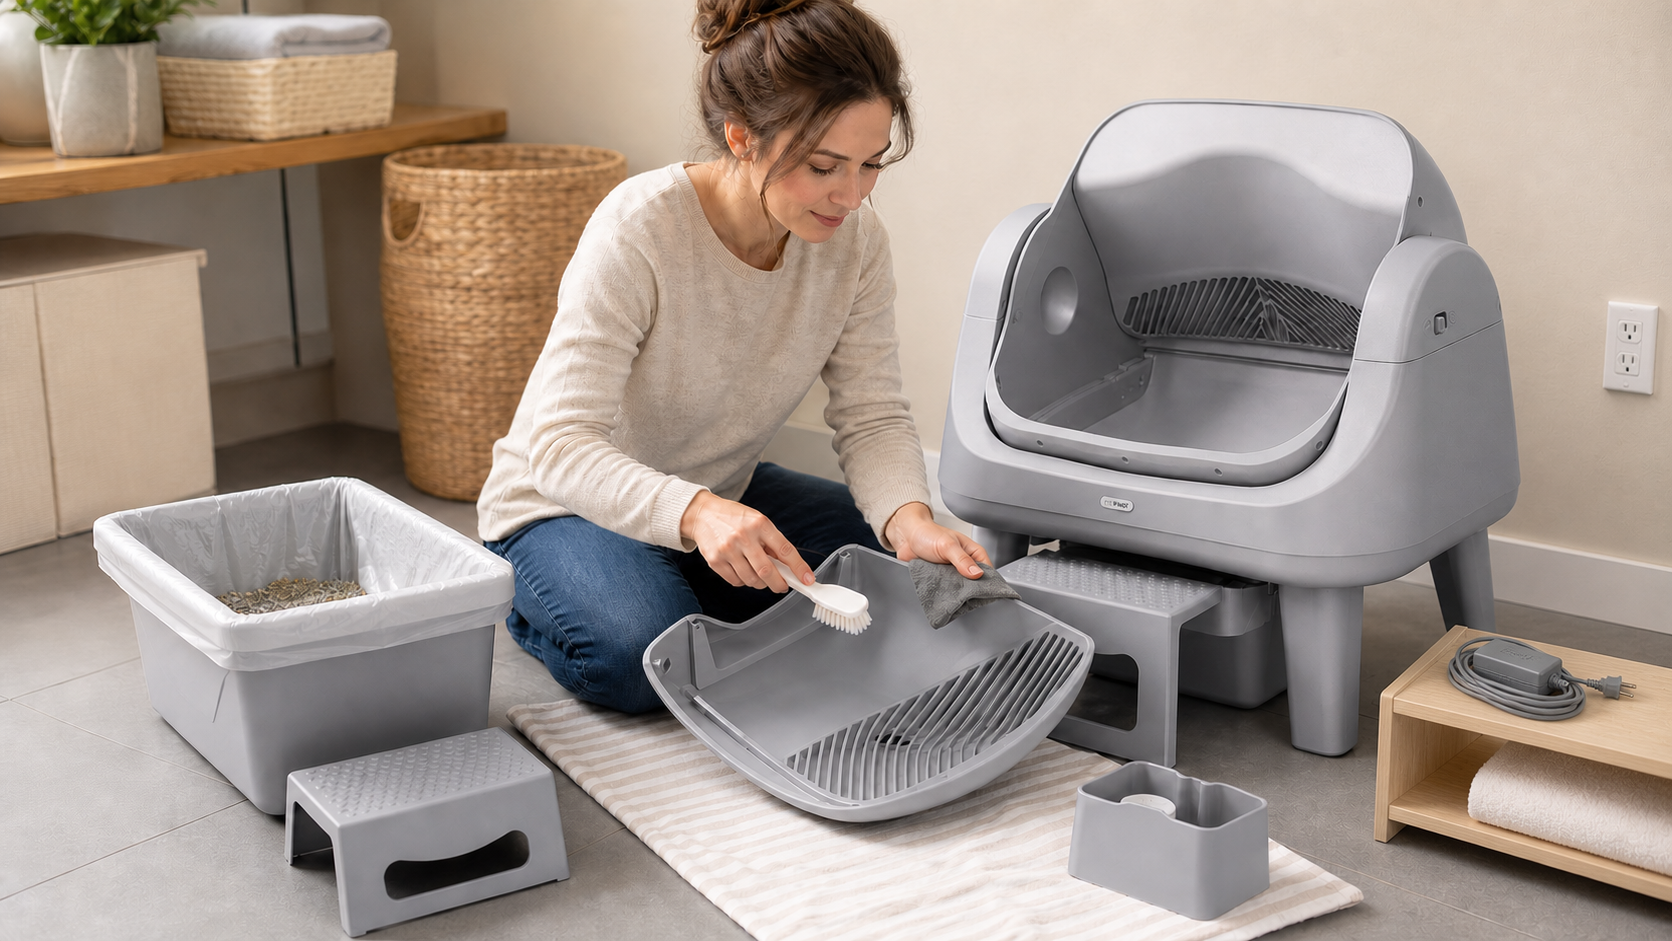
Some cats refuse an automatic box because it is not actually clean. Inspect after a cycle:
- Was all stool removed?
- Did a urine clump break and remain?
- Is the litter bed damp or smeared?
- Is the waste container full?
- Does odor remain in the chamber?
- Is the litter between the fill lines?
Correct the mechanical or litter problem before asking the cat to return. Automation should improve cleanliness, not hide residue.
Step 10: Know when to stop the experiment
Not every cat will accept every box. Stop escalating the transition when the cat repeatedly avoids the room, house-soils, shows prolonged stress or cannot physically use the entry and interior.
The correct outcome may be:
- a different automatic design;
- a manual low-entry box;
- multiple box styles;
- a different location;
- continued manual mode;
- a veterinary behavior plan.
The purpose of automation is to improve care. It should not come at the cost of reliable elimination.

A recovery plan should reduce pressure, preserve choice and use the exact model instructions.
PetPivot-specific recovery notes
The current PetPivot AutoScooper user guide for AutoScooper 12 recommends manual mode for timid cats until they are comfortable. It also documents a minimum of 3 lb and 6 months for automatic operation and gives model-specific litter rules.
Review the exact model before changing settings. AutoScooper 11 product details and AutoScooper 12 Lite product details are separate references.
|
|
|


Official PetPivot product images. Confirm the current product page and model guide before publication.
A compact recovery checklist
- Clean familiar backup box restored
- Veterinary concerns addressed
- Automatic movement disabled
- Usable interior and entry checked
- Compatible familiar litter used
- Quiet accessible location confirmed
- Other pets cannot block the entrance
- Litter bed clean after each test
- One manual cycle introduced at a distance
- Progress based on relaxed repeated use
For support questions, use the PetPivot FAQ and the current user guide.
Frequently Asked Questions
Why does my cat sniff the AutoScooper but refuse to step inside?
Sniffing shows awareness, not acceptance. The entry, step, litter feel, interior space, location or a previous noise may still make entering difficult.
- Check that the cat can climb the step and turn without crouching against the sides.
- Use familiar compatible litter at a familiar depth.
- Keep the unit stationary and quiet during early investigation.
- Move food, noisy appliances and routes used by other pets away from the entrance.
Why did my cat use it until the first cleaning cycle?
The movement or sound may have become associated with the litter location. Reset the process instead of repeating the cycle.
- Disable movement and restore a clean familiar backup box.
- Wait for relaxed voluntary use of the stationary AutoScooper again.
- Run one approved manual cycle only while the cat is safely away.
- If avoidance returns, step back and review sound, litter, placement and mechanical operation.
Should I take the old box away so my cat has no choice?
No. Removing the accepted resource can turn hesitation into house soiling and does not prove the new box is comfortable. Keep a clean backup until use is calm and reliable.
What if one cat uses the automatic box and another refuses?
Treat each cat as a separate user. Preserve enough clean locations, check the refusing cat's mobility and social access, and do not let one cat's acceptance justify removing another cat's safe option.
When should I stop trying to make the automatic box work?
Pause when the cat repeatedly eliminates elsewhere, avoids the room, cannot fit or climb comfortably, or remains distressed after a slow reset. A different litter box is a successful welfare decision when it is the option the cat can use reliably.
Sources
- PetPivot AutoScooper User Guide - Current AutoScooper 12 setup, litter, transition, maintenance, indicators and operating limits.
- PetPivot AutoScooper 11 product page - Official product page and original product image.
- PetPivot AutoScooper 12 Lite product page - Official product page and original product image.
- Cornell Feline Health Center: Feline Behavior Problems - House Soiling - Medical, litter-box, location, substrate, cleaning and behavior evidence boundary.
- VCA Animal Hospitals: Cat Behavior Problems - House Soiling - Veterinary and behavior review of urine and stool outside the box.
- FelineVMA: 2014 AAFP/ISFM House-Soiling Guidelines - Clinical framework for optimizing litter-box setup and feline environmental needs.
- Litter box preference in domestic cats: covered versus uncovered - Small controlled study reporting no overall group preference and meaningful individual variation.
You may also like

AutoScooper 11 Cat Litter Box-Pink

AutoScooper 11 Cat Litter Box-White

AutoScooper 11 Litter Base Bed – 2 Pack
AutoScooper 11 Litter Base Bed – 2 Pack

AutoScooper 11 Waste Bags – 60 Count

Further reading
How Often Should You Clean an Automatic Litter Box?
How to Transition Your Cat to an Automatic Litter Box Without Stress
Cat Won't Use an Automatic Litter Box? Use This Recovery Plan