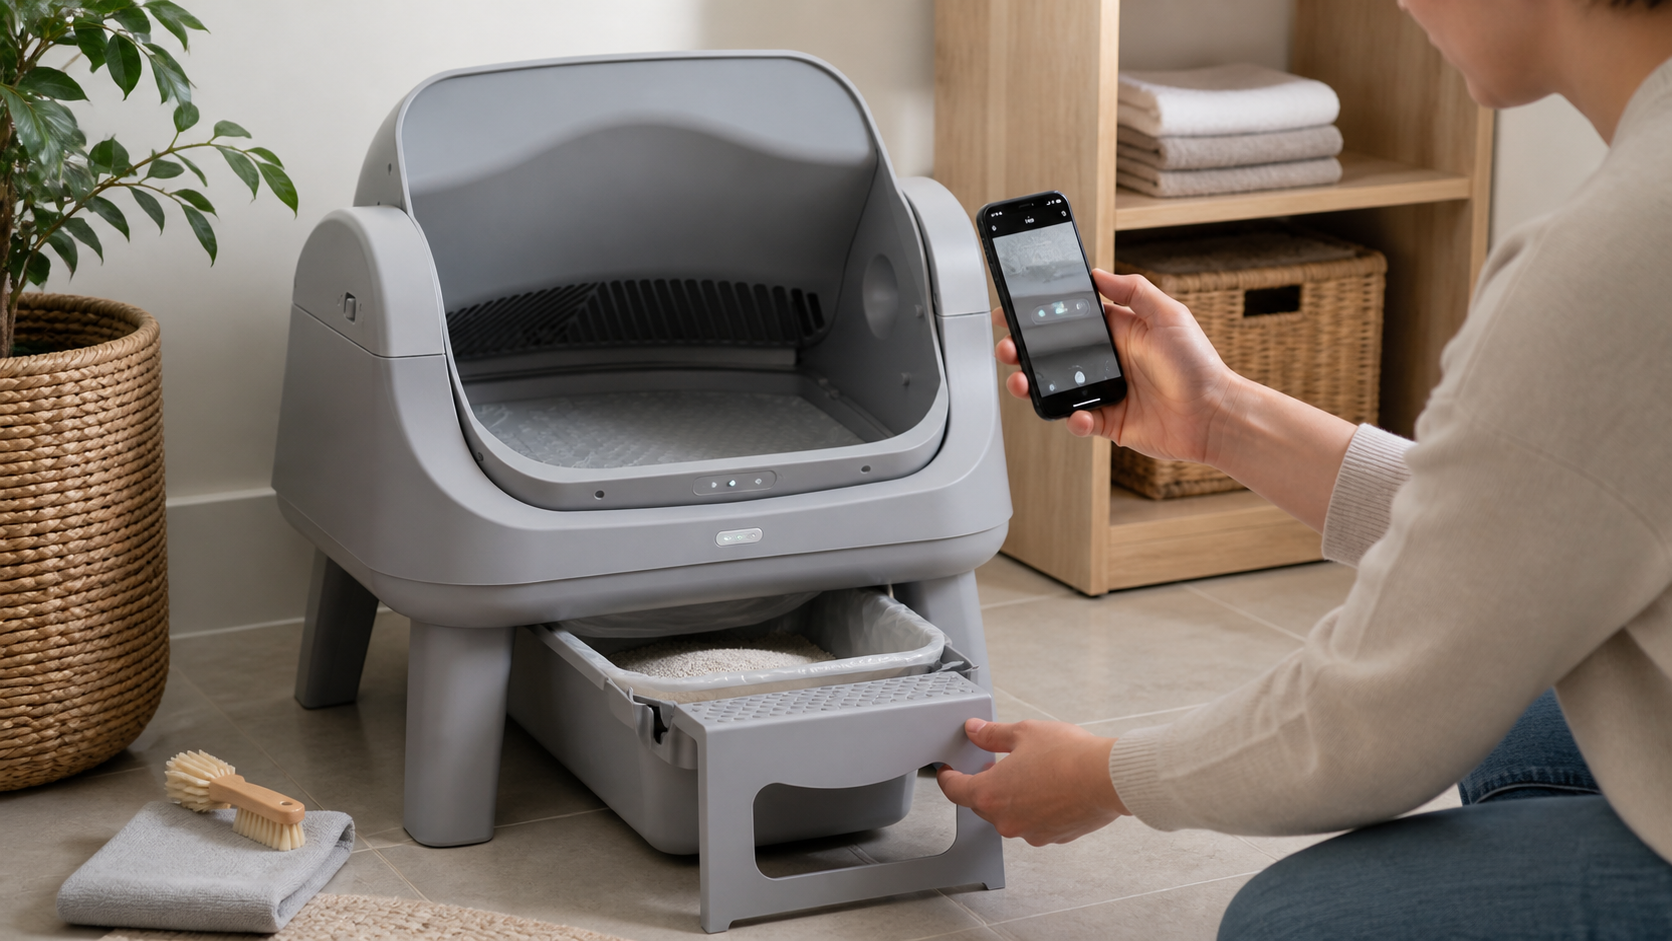
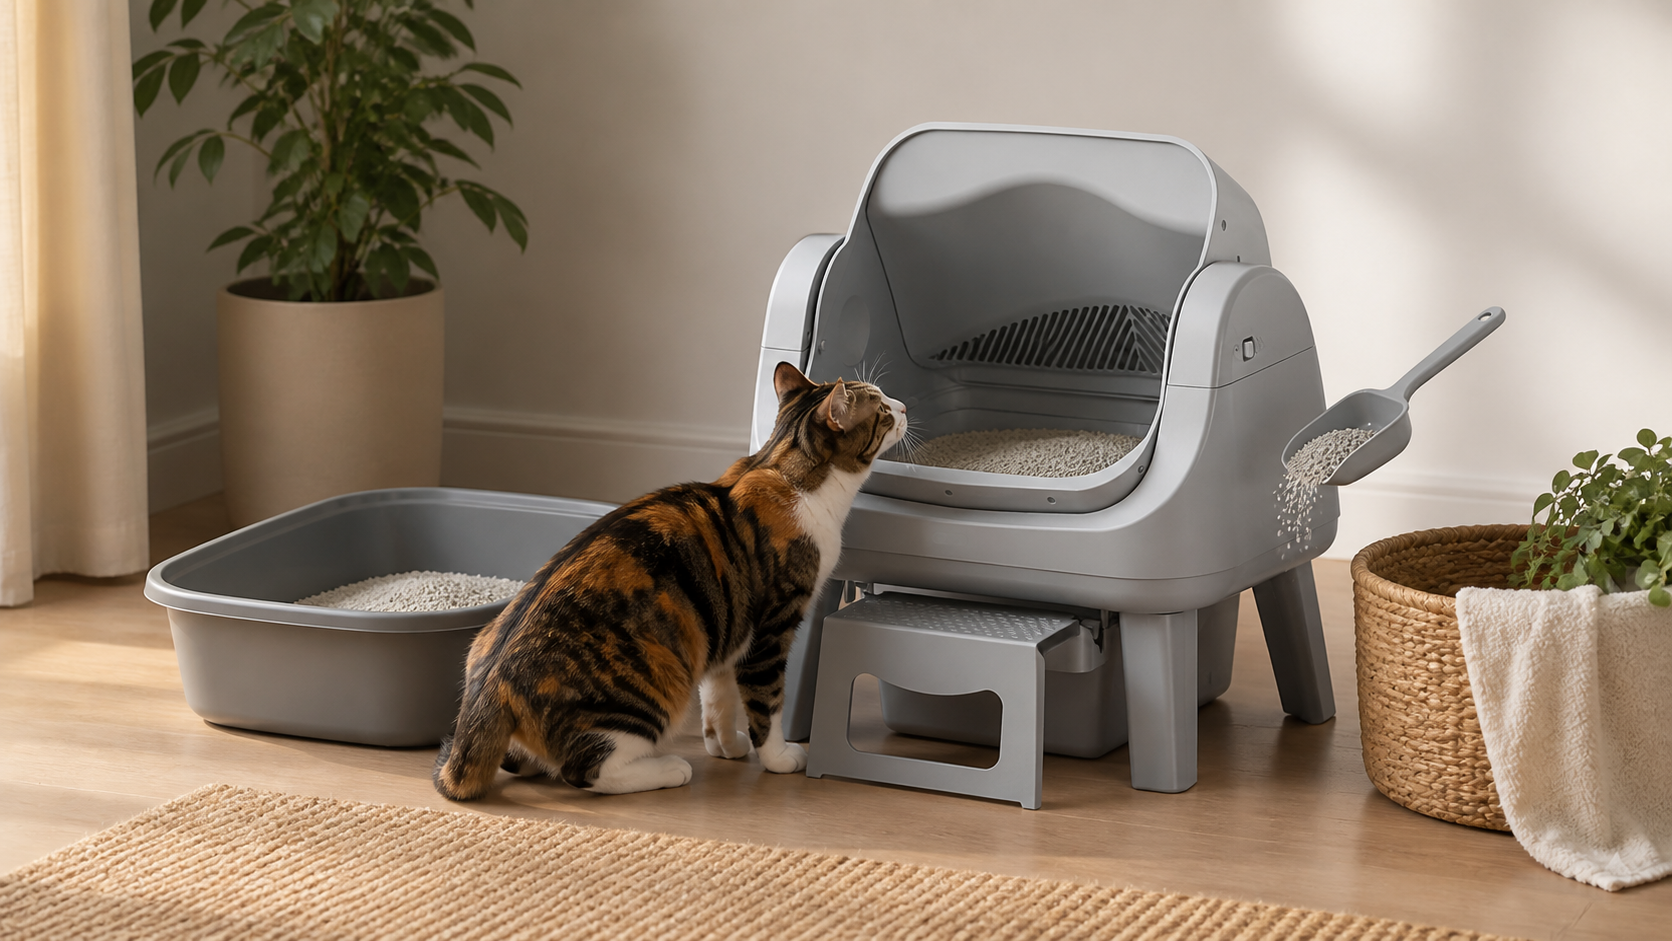
How to Transition Your Cat to an Automatic Litter Box Without Stress

About the Author
Preserve familiar cues and introduce changes in layers. Set up the automatic litter box near the accepted location, use compatible familiar litter, keep the old box available, begin with automatic movement disabled and wait for calm voluntary use. Introduce one manual cycle while the cat is safely away, then enable automatic mode only after the cat returns and uses the box normally. This article is for preventing refusal before it starts. If the cat already avoids the unit or has begun eliminating elsewhere, use the automatic litter box recovery plan. Transition stage What changes What stays familiar Readiness signal Preparation New unit enters the home Old box, litter and routine Cat behaves normally around the room Static introduction New litter area is available No movement; backup remains Voluntary entry and relaxed exit Litter acceptance Compatible litter in new box Familiar texture or gradual mix Normal digging and elimination First cycle Sound and movement appear Cat watches from a safe distance or is away Cat returns to the room without avoidance Automatic use Post-use cycles begin Location and litter stay stable Repeated calm use after cycles Long-term routine Backup plan may change Reliable access remains No house soiling or resource conflict Before the new box arrives Observe the current routine for several days. Record which box each cat uses, preferred litter, entry posture, approximate visit times and whether one cat follows another. This baseline helps you recognize a real change. Prepare: a flat stable indoor location; access to a suitable outlet; enough clearance for the waste drawer and washable parts; compatible litter; a clean backup box; a plan to keep dogs or other cats from crowding the entrance; the current model guide. Do not schedule the transition during a move, renovation, new-pet introduction or other major disruption when it can be avoided. Some cats progress quickly; cautious, senior or multi-cat households may need more time. Step 1: Assemble and inspect before the cat uses it Follow the current model guide. Install required legs, steps, waste container and liner exactly as shown. Confirm the chamber is aligned, the litter level is correct and the unit sits evenly. Run any required initial setup while the cat is in another room. If the model aligns at power-on, allow that process to finish without interruption. Confirm normal operation before presenting the box as a litter resource. Do not let the cat discover the unit during an abnormal or incomplete cycle. Step 2: Position it near the accepted litter area A familiar location reduces the number of changes. Place the new box near the old one when the room, outlet and access allow it. Keep both usable. The location should be: quiet and accessible; separate from food and water; away from a washer, furnace or sudden noise; open enough that another pet cannot block the exit; large enough for the cat to approach and turn; easy for the owner to inspect and service. Do not hide the unit in a closed closet to make the transition look tidy. Step 3: Begin with movement disabled Use the model's powered-off or approved manual-mode setup. The new box should behave like a static litter area while the cat learns its entry, surface and smell. Let the cat: approach at its own pace; sniff and leave; step on the entry without being held; use the old box without interference; observe the unit from different distances. Do not place treats inside the litter bed, because food and elimination areas should remain separate. Do not lift or push the cat into the chamber. Step 4: Keep litter familiar and compatible The accepted litter is a strong familiar cue. Use it when the automatic model permits it. If the model requires a different type, introduce the new litter in a manual box first or follow the manufacturer's gradual mixing instruction. Change only one litter property at a time: texture; particle size; scent; clumping behavior; depth. The current AutoScooper 12 web guide describes mixing old and new litter in equal measure during days 1–6. It also specifies small-piece clumping mineral or bentonite litter and excludes long-strip tofu and crystal litter. Follow the exact current guide for your model rather than turning that sequence into a universal rule. Step 5: Wait for voluntary elimination Sniffing is not acceptance. Stepping inside is not acceptance. The useful signal is normal elimination followed by a calm exit. Look for: full voluntary entry; normal turning and posture; digging or covering consistent with the cat's baseline; no edge balancing or hurried escape; normal return to the room; continued use of food, water and resting areas. Keep the litter bed clean. If the new box collects waste while movement is disabled, remove it manually so the cat does not learn that the new area is dirtier. Step 6: Introduce one manual cycle After repeated calm use, run one manual cleaning cycle while the cat is safely away. Watch the unit and confirm that it completes normally. Later, let the cat hear a cycle from a comfortable distance. The cat should have an open route away and should not be carried closer. Observe whether the cat returns and continues using the box. If the cat hides, avoids the room or stops using the box: disable movement again; restore the last successful static stage; inspect the unit for unusual sound or interruption; keep the backup box clean; move more slowly. Step 7: Enable automatic mode only after stable use Automatic mode should be the final new variable. Confirm the cat meets the model's minimum age and weight and that the safety and sensor areas are clean. For AutoScooper 12, the current PetPivot AutoScooper user guide states a minimum of 3 lb and 6 months for automatic operation. It recommends manual mode for cats below those limits and for timid cats until they are comfortable. During the first automatic cycles: remain available to observe; keep the cat's exit clear; verify that the cycle waits and completes as documented; inspect the litter bed afterward; return to manual mode if the cat's behavior changes. Step 8: Keep the backup until the pattern is stable Do not remove the old box because a calendar says the transition is complete. Consider the transition stable when the cat uses the new box repeatedly, returns after cleaning cycles and shows no house soiling or access conflict. In a multi-cat household, each cat must meet that standard individually. Even after all cats use the automatic unit, the home may still need more than one litter-box location. Transition adjustments for different cats Cautious cats Extend the static stage, keep movement off and introduce sound from a greater distance. Protect the approach from people and other pets. Senior or mobility-limited cats Prioritize entry height, traction, usable interior and location on the same floor. A manual low-entry option may remain necessary. Kittens Use manual mode or a suitable manual box until the kitten meets the model's current automatic-operation limit. Small body weight can affect detection and operating guidance. Large cats Confirm the usable litter-bed dimensions and turning space. Exterior size and an open top do not guarantee a comfortable interior. Multi-cat homes Track each cat separately. Place resources in more than one location and watch for staring, following or guarding. If elimination changes suddenly or the cat appears distressed, contact a veterinarian. Common transition mistakes Removing the old box on day one Changing the box, litter and location together Running a cycle while the cat is trapped nearby Forcing the cat into the chamber Letting the new box become dirty while powered off Placing the unit beside a loud appliance Assuming one cat's acceptance applies to every cat Ignoring age, weight or litter restrictions Advancing by days instead of behavior Treating house soiling as disobedience PetPivot transition setup PetPivot AutoScooper models use open access and direct controls without a required app. An open view may make the form more familiar for some cats, but it does not guarantee acceptance. Fit, litter, location, movement and individual behavior still matter. Review AutoScooper 11 product details and AutoScooper 12 Lite product details separately. Use the exact manual supplied with the model. AutoScooper 11 AutoScooper 12 Lite Official PetPivot product images. Confirm the current product page and model guide before publication. A printable transition checklist Before use Model guide read Unit stable and correctly assembled Compatible litter ready Old box remains available Cat meets automatic-operation limits Before the first cycle Cat enters voluntarily Cat eliminates normally Litter bed stays clean No pet blocks the exit Manual cycle completes normally while cat is away Before removing any backup Each cat uses the new box repeatedly Cats return normally after cycles No urine or stool appears outside the box Another accessible litter resource remains where needed Ready to compare the open-top models? Browse PetPivot automatic litter boxes, then confirm the current product page and guide. Frequently Asked Questions How much used litter should I put in the new automatic box? A small scoop is usually enough to add a familiar scent. Transfer it only when the old litter is compatible with the automatic model; do not move a dirty load that makes the new box unpleasant. Should I change the litter and the box on the same day? Avoid combining those changes when possible. Separate them so the cat has one new variable at a time. First introduce any required compatible litter in the familiar accepted box. Wait until the cat uses that litter normally. Then place the stationary automatic box beside or near the familiar setup. Introduce movement only after calm voluntary use. Can I use treats during the transition? You may reward calm exploration from outside the litter area, but do not place food in the litter bed or force the cat toward the entrance. The goal is voluntary investigation, not luring the cat into a confined space. What should I do if my cat stops using it after the first cycle? Return to the last stage that worked. Disable the automatic movement. Restore and clean the familiar backup box. Check sound, operation, litter level and access before another trial. Run the next manual cycle only while the cat is safely away. How do I know the old box can be removed? Do not use a fixed number of days. Wait for repeated relaxed entry, normal elimination, calm exits and no house soiling across the cat's ordinary routine; in a multi-cat or mobility-sensitive home, a backup location may remain necessary. Sources PetPivot AutoScooper User Guide - Current AutoScooper 12 setup, litter, transition, maintenance, indicators and operating limits. PetPivot AutoScooper 11 product page - Official product page and original product image. PetPivot AutoScooper 12 Lite product page - Official product page and original product image. Cornell Feline Health Center: Feline Behavior Problems - House Soiling - Medical, litter-box, location, substrate, cleaning and behavior evidence boundary. FelineVMA: 2014 AAFP/ISFM House-Soiling Guidelines - Clinical framework for optimizing litter-box setup and feline environmental needs.
Preserve familiar cues and introduce changes in layers. Set up the automatic litter box near the accepted location, use compatible familiar litter, keep the old box available, begin with automatic movement disabled and wait for calm voluntary use. Introduce one manual cycle while the cat is safely away, then enable automatic mode only after the cat returns and uses the box normally.
This article is for preventing refusal before it starts. If the cat already avoids the unit or has begun eliminating elsewhere, use the automatic litter box recovery plan.
|
Transition stage |
What changes |
What stays familiar |
Readiness signal |
|
Preparation |
New unit enters the home |
Old box, litter and routine |
Cat behaves normally around the room |
|
Static introduction |
New litter area is available |
No movement; backup remains |
Voluntary entry and relaxed exit |
|
Litter acceptance |
Compatible litter in new box |
Familiar texture or gradual mix |
Normal digging and elimination |
|
First cycle |
Sound and movement appear |
Cat watches from a safe distance or is away |
Cat returns to the room without avoidance |
|
Automatic use |
Post-use cycles begin |
Location and litter stay stable |
Repeated calm use after cycles |
|
Long-term routine |
Backup plan may change |
Reliable access remains |
No house soiling or resource conflict |
Before the new box arrives
Observe the current routine for several days. Record which box each cat uses, preferred litter, entry posture, approximate visit times and whether one cat follows another. This baseline helps you recognize a real change.
Prepare:
- a flat stable indoor location;
- access to a suitable outlet;
- enough clearance for the waste drawer and washable parts;
- compatible litter;
- a clean backup box;
- a plan to keep dogs or other cats from crowding the entrance;
- the current model guide.
Do not schedule the transition during a move, renovation, new-pet introduction or other major disruption when it can be avoided.

Some cats progress quickly; cautious, senior or multi-cat households may need more time.
Step 1: Assemble and inspect before the cat uses it
Follow the current model guide. Install required legs, steps, waste container and liner exactly as shown. Confirm the chamber is aligned, the litter level is correct and the unit sits evenly.
Run any required initial setup while the cat is in another room. If the model aligns at power-on, allow that process to finish without interruption. Confirm normal operation before presenting the box as a litter resource.
Do not let the cat discover the unit during an abnormal or incomplete cycle.
Step 2: Position it near the accepted litter area
A familiar location reduces the number of changes. Place the new box near the old one when the room, outlet and access allow it. Keep both usable.
The location should be:
- quiet and accessible;
- separate from food and water;
- away from a washer, furnace or sudden noise;
- open enough that another pet cannot block the exit;
- large enough for the cat to approach and turn;
- easy for the owner to inspect and service.
Do not hide the unit in a closed closet to make the transition look tidy.
Step 3: Begin with movement disabled
Use the model's powered-off or approved manual-mode setup. The new box should behave like a static litter area while the cat learns its entry, surface and smell.
Let the cat:
- approach at its own pace;
- sniff and leave;
- step on the entry without being held;
- use the old box without interference;
- observe the unit from different distances.
Do not place treats inside the litter bed, because food and elimination areas should remain separate. Do not lift or push the cat into the chamber.
Step 4: Keep litter familiar and compatible
The accepted litter is a strong familiar cue. Use it when the automatic model permits it. If the model requires a different type, introduce the new litter in a manual box first or follow the manufacturer's gradual mixing instruction.
Change only one litter property at a time:
- texture;
- particle size;
- scent;
- clumping behavior;
- depth.
The current AutoScooper 12 web guide describes mixing old and new litter in equal measure during days 1–6. It also specifies small-piece clumping mineral or bentonite litter and excludes long-strip tofu and crystal litter. Follow the exact current guide for your model rather than turning that sequence into a universal rule.
Step 5: Wait for voluntary elimination
Sniffing is not acceptance. Stepping inside is not acceptance. The useful signal is normal elimination followed by a calm exit.
Look for:
- full voluntary entry;
- normal turning and posture;
- digging or covering consistent with the cat's baseline;
- no edge balancing or hurried escape;
- normal return to the room;
- continued use of food, water and resting areas.
Keep the litter bed clean. If the new box collects waste while movement is disabled, remove it manually so the cat does not learn that the new area is dirtier.
Step 6: Introduce one manual cycle
After repeated calm use, run one manual cleaning cycle while the cat is safely away. Watch the unit and confirm that it completes normally.
Later, let the cat hear a cycle from a comfortable distance. The cat should have an open route away and should not be carried closer. Observe whether the cat returns and continues using the box.
If the cat hides, avoids the room or stops using the box:
- disable movement again;
- restore the last successful static stage;
- inspect the unit for unusual sound or interruption;
- keep the backup box clean;
- move more slowly.
Step 7: Enable automatic mode only after stable use
Automatic mode should be the final new variable. Confirm the cat meets the model's minimum age and weight and that the safety and sensor areas are clean.
For AutoScooper 12, the current PetPivot AutoScooper user guide states a minimum of 3 lb and 6 months for automatic operation. It recommends manual mode for cats below those limits and for timid cats until they are comfortable.
During the first automatic cycles:
- remain available to observe;
- keep the cat's exit clear;
- verify that the cycle waits and completes as documented;
- inspect the litter bed afterward;
- return to manual mode if the cat's behavior changes.
Step 8: Keep the backup until the pattern is stable
Do not remove the old box because a calendar says the transition is complete. Consider the transition stable when the cat uses the new box repeatedly, returns after cleaning cycles and shows no house soiling or access conflict.
In a multi-cat household, each cat must meet that standard individually. Even after all cats use the automatic unit, the home may still need more than one litter-box location.
Transition adjustments for different cats
Cautious cats
Extend the static stage, keep movement off and introduce sound from a greater distance. Protect the approach from people and other pets.
Senior or mobility-limited cats
Prioritize entry height, traction, usable interior and location on the same floor. A manual low-entry option may remain necessary.
Kittens
Use manual mode or a suitable manual box until the kitten meets the model's current automatic-operation limit. Small body weight can affect detection and operating guidance.
Large cats
Confirm the usable litter-bed dimensions and turning space. Exterior size and an open top do not guarantee a comfortable interior.
Multi-cat homes
Track each cat separately. Place resources in more than one location and watch for staring, following or guarding.

If elimination changes suddenly or the cat appears distressed, contact a veterinarian.
Common transition mistakes
- Removing the old box on day one
- Changing the box, litter and location together
- Running a cycle while the cat is trapped nearby
- Forcing the cat into the chamber
- Letting the new box become dirty while powered off
- Placing the unit beside a loud appliance
- Assuming one cat's acceptance applies to every cat
- Ignoring age, weight or litter restrictions
- Advancing by days instead of behavior
- Treating house soiling as disobedience
PetPivot transition setup
PetPivot AutoScooper models use open access and direct controls without a required app. An open view may make the form more familiar for some cats, but it does not guarantee acceptance. Fit, litter, location, movement and individual behavior still matter.
Review AutoScooper 11 product details and AutoScooper 12 Lite product details separately. Use the exact manual supplied with the model.
|
|
|


Official PetPivot product images. Confirm the current product page and model guide before publication.
A printable transition checklist
Before use
- Model guide read
- Unit stable and correctly assembled
- Compatible litter ready
- Old box remains available
- Cat meets automatic-operation limits
Before the first cycle
- Cat enters voluntarily
- Cat eliminates normally
- Litter bed stays clean
- No pet blocks the exit
- Manual cycle completes normally while cat is away
Before removing any backup
- Each cat uses the new box repeatedly
- Cats return normally after cycles
- No urine or stool appears outside the box
- Another accessible litter resource remains where needed
Ready to compare the open-top models? Browse PetPivot automatic litter boxes, then confirm the current product page and guide.
Frequently Asked Questions
How much used litter should I put in the new automatic box?
A small scoop is usually enough to add a familiar scent. Transfer it only when the old litter is compatible with the automatic model; do not move a dirty load that makes the new box unpleasant.
Should I change the litter and the box on the same day?
Avoid combining those changes when possible. Separate them so the cat has one new variable at a time.
- First introduce any required compatible litter in the familiar accepted box.
- Wait until the cat uses that litter normally.
- Then place the stationary automatic box beside or near the familiar setup.
- Introduce movement only after calm voluntary use.
Can I use treats during the transition?
You may reward calm exploration from outside the litter area, but do not place food in the litter bed or force the cat toward the entrance. The goal is voluntary investigation, not luring the cat into a confined space.
What should I do if my cat stops using it after the first cycle?
Return to the last stage that worked.
- Disable the automatic movement.
- Restore and clean the familiar backup box.
- Check sound, operation, litter level and access before another trial.
- Run the next manual cycle only while the cat is safely away.
How do I know the old box can be removed?
Do not use a fixed number of days. Wait for repeated relaxed entry, normal elimination, calm exits and no house soiling across the cat's ordinary routine; in a multi-cat or mobility-sensitive home, a backup location may remain necessary.
Sources
- PetPivot AutoScooper User Guide - Current AutoScooper 12 setup, litter, transition, maintenance, indicators and operating limits.
- PetPivot AutoScooper 11 product page - Official product page and original product image.
- PetPivot AutoScooper 12 Lite product page - Official product page and original product image.
- Cornell Feline Health Center: Feline Behavior Problems - House Soiling - Medical, litter-box, location, substrate, cleaning and behavior evidence boundary.
- FelineVMA: 2014 AAFP/ISFM House-Soiling Guidelines - Clinical framework for optimizing litter-box setup and feline environmental needs.
You may also like

AutoScooper 12 Lite Cat Litter Box

AutoScooper 12 Lite Cat Litter Box

AutoScooper 12 Lite Cat Litter Box

AutoScooper 12 Lite Cat Litter Box

AutoScooper 12 litter Bed – 2 Pack

AutoScooper 12 Waste Bags – 60 Count
Further reading
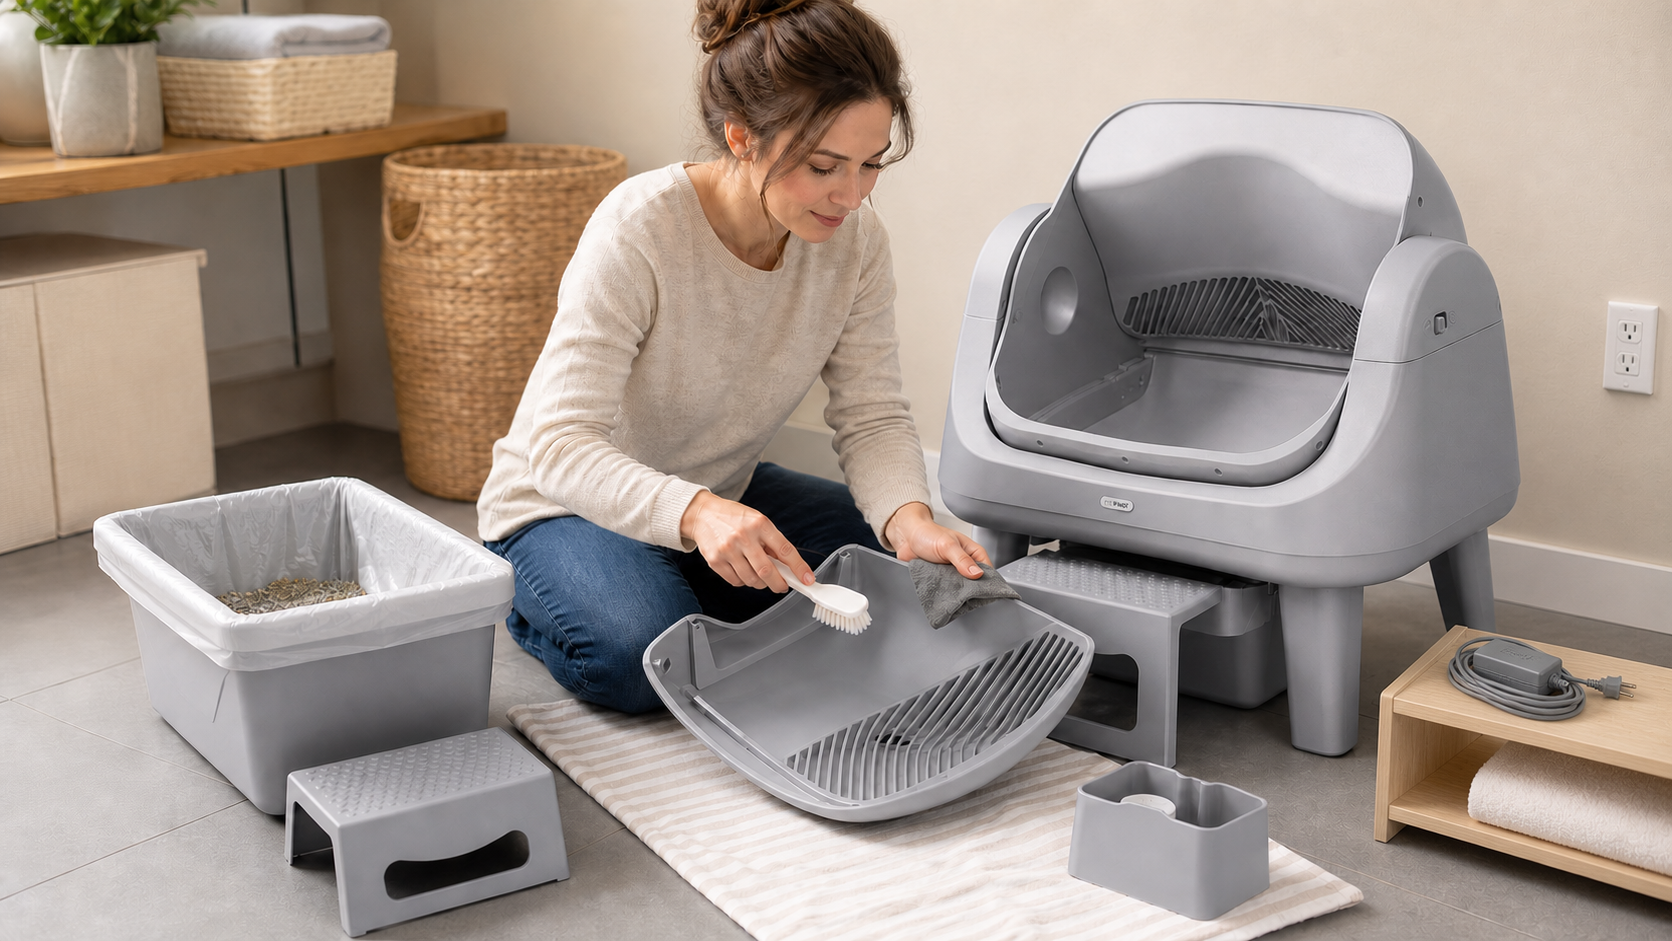
How Often Should You Clean an Automatic Litter Box?
How to Transition Your Cat to an Automatic Litter Box Without Stress
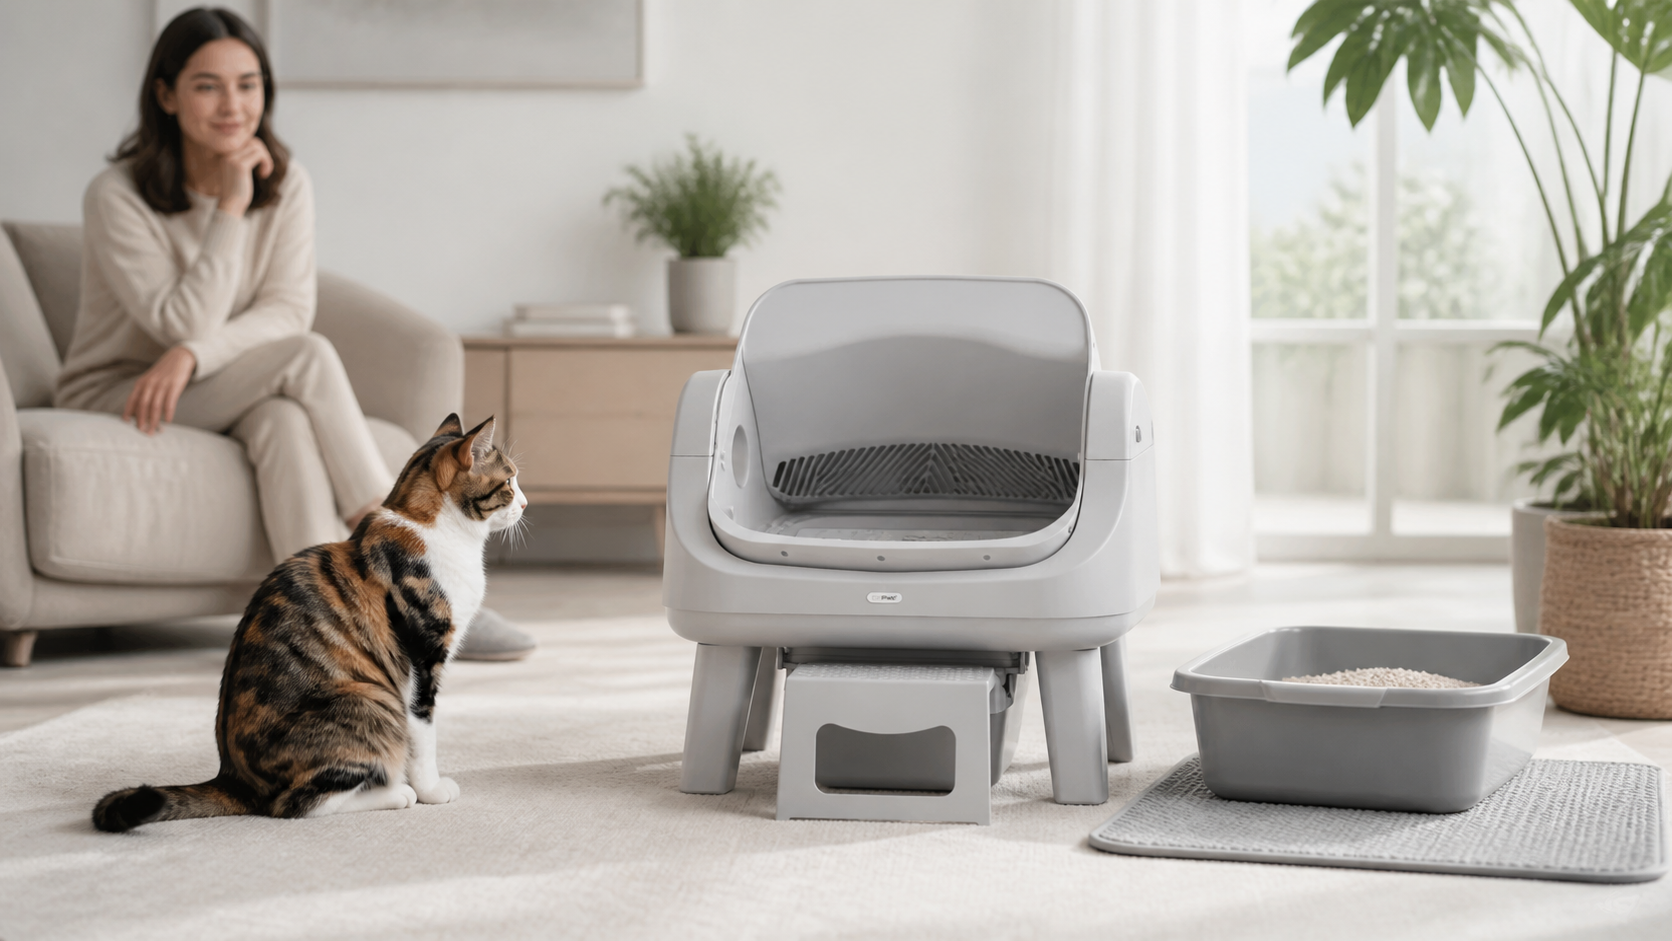
Cat Won't Use an Automatic Litter Box? Use This Recovery Plan